Jailbreak:Mouse USB Logitech M100
De Base de Conocimiento de Codexphere
Revisión del 05:41 11 ene 2016 de Cpomar88 (Discusión | contribuciones)
Jailbreak Mouse USB Logitech M100
Tutorial
- .: Dissassembly
- This set of photos describes the disassembly procedure for the Logitech M100. For a reassembly, start at the bottom and work your way up. The mouse was very easy to take apart and only require a screwdriver for the single screw. The internals are mostly held in place by the tension placed on them by the casing.
- .: So easy a cave-engineer could do it
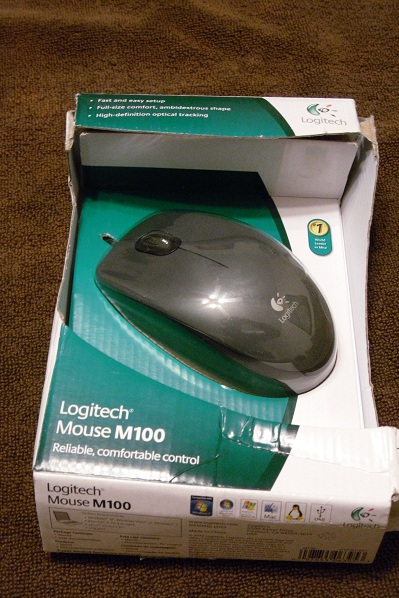
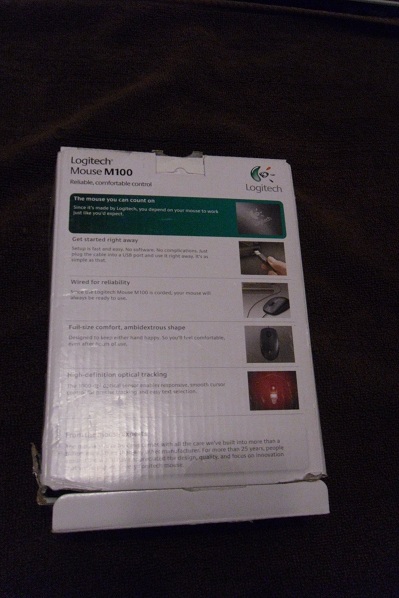
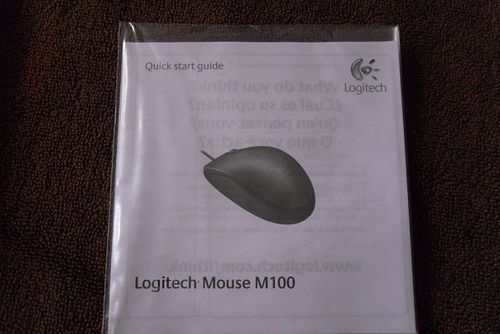
- Let us begin. Here is the product packaging
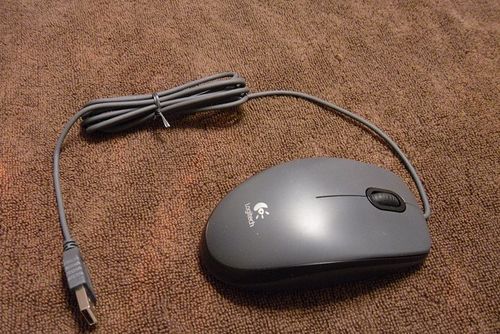
- Inside was the mouse and the manual
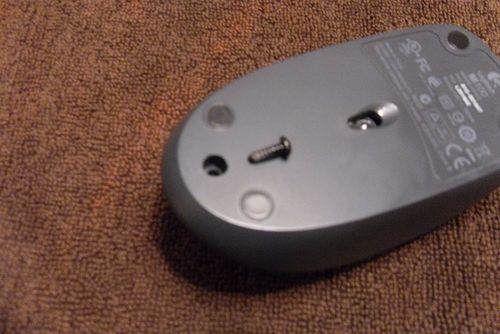
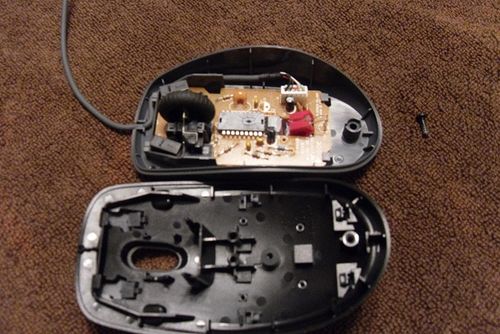
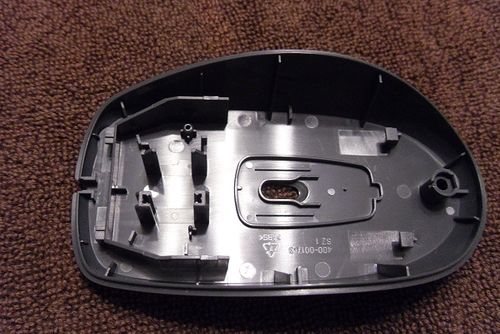
- The first step was to remove the one screw in the bottom of the mouse. After doing this the two pieces slid apart
- A closer view of the two halves
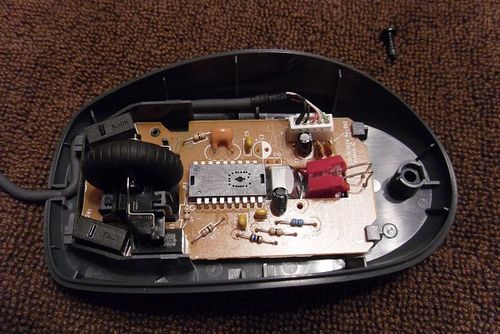
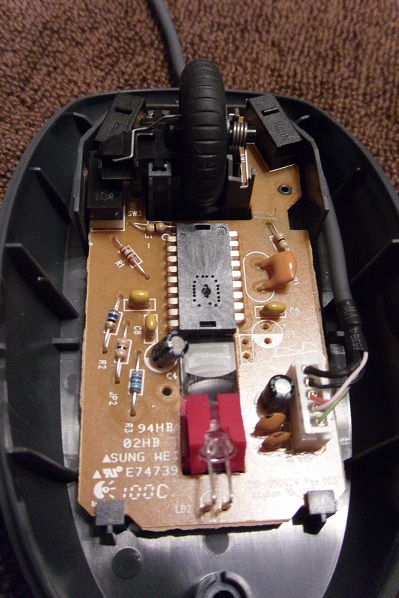
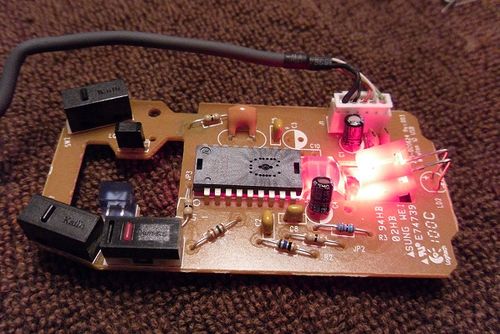
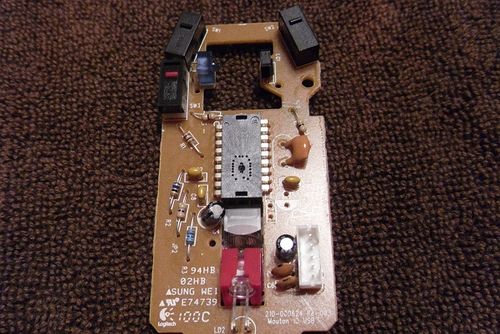
- More angles. The board is well laid out, and the micro is clearly visible
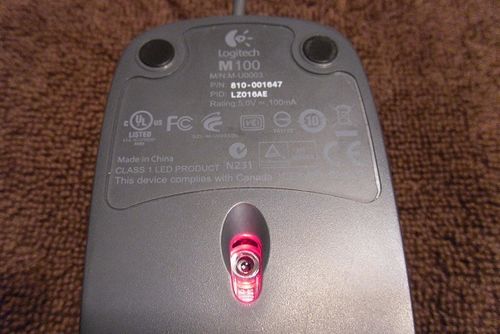
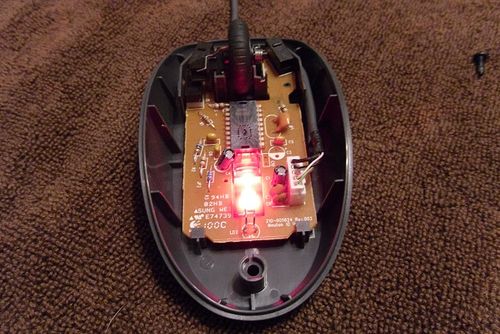
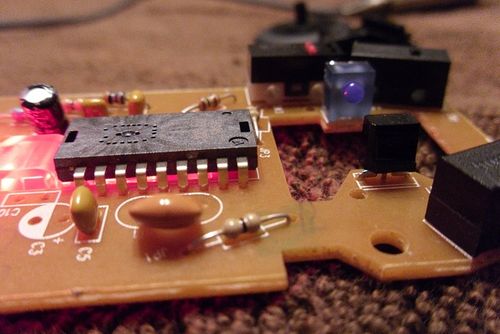
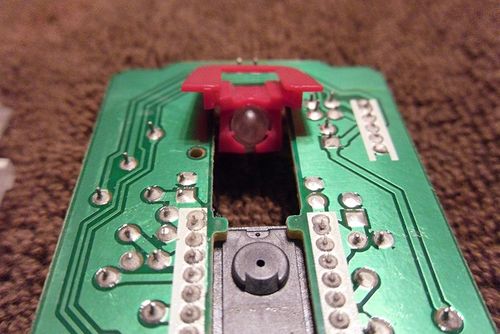
- I plugged it in again and you can see how bright the LED really is. I believe this to be a white LED, turned red by it's plastic housing
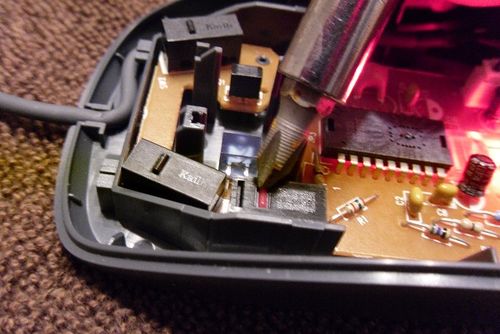
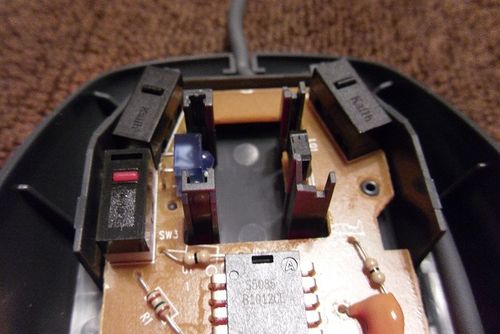
- Buttons!
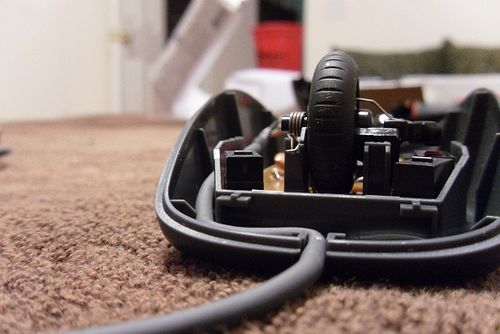
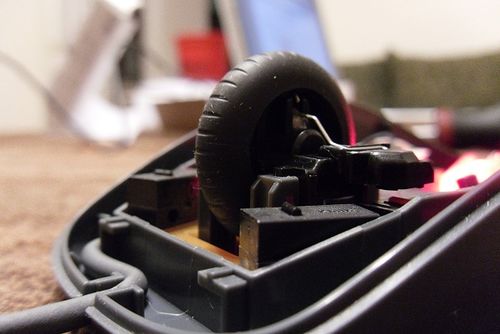
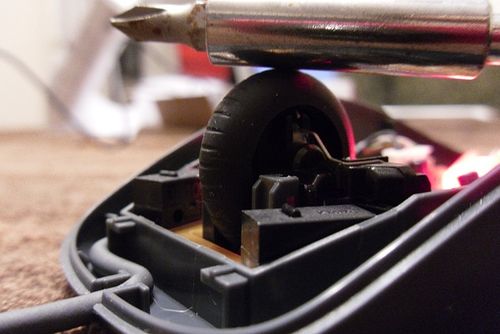
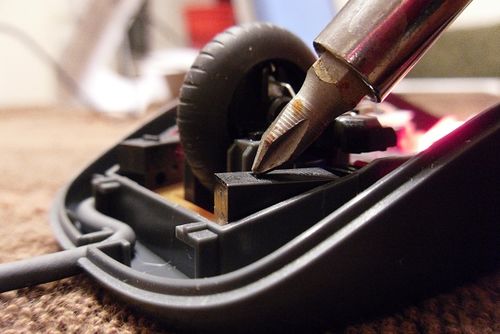
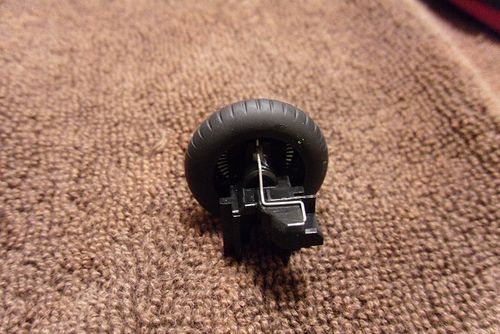
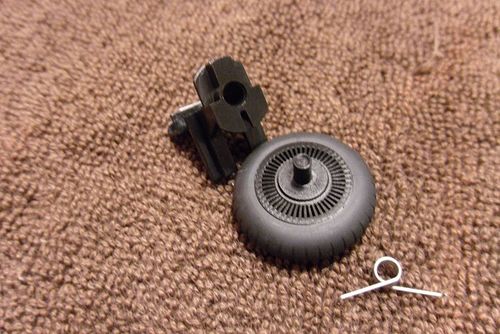
- Wheels! This is the wheel assembly.
- Up close view of the optical sensor for the mouse wheel and infrared or uv diode.
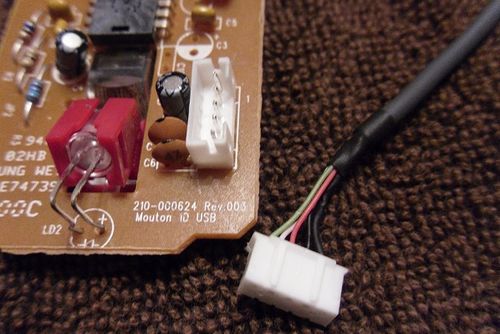
- The board outside of the housing, and the removal of the USB connector
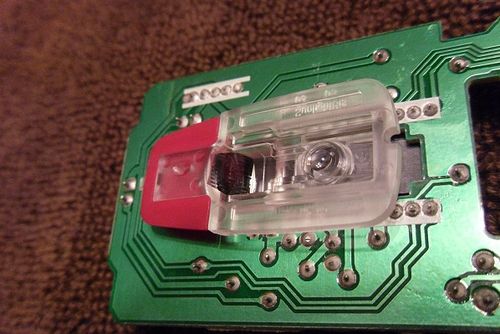
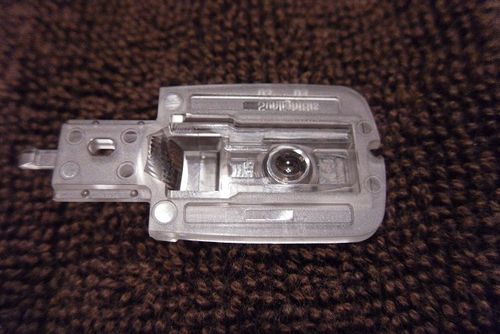
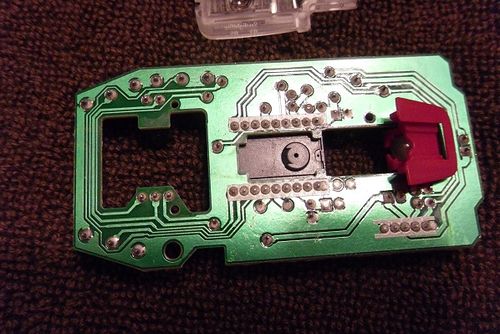
- The underside of the PCB, note the PCB is single sided. Here we also get an excellent look at the lens which is removable
- Removing the lens reveals the optical sensor which controls mouse movement. The sensor is built into the bottom of the microcontroller package
- By: Jeremy Lewis http://courses.ece.msstate.edu/ece4723/dissect/097855063953/
